


From Seed to Sprout: A Beginner's Guide to Perfect Germination

From Seed to Sprout: A Beginner's Guide to Perfect Germination
There’s a special kind of magic in holding a tiny seed. It’s a promise of a future plant—a sun-ripened tomato, a fragrant basil leaf, or a vibrant zinnia bloom. Starting plants from seed is one of the most rewarding parts of gardening, but it can also feel intimidating. Why did some seeds sprout while others didn't? How do you stop seedlings from getting tall and spindly?
At The Green Corner, we believe anyone can master the art of seed starting. The secret is combining a few key techniques with the right equipment. Here is our ultimate guide to getting that perfect germination, every single time.
The Golden Rules of Successful Germination
Before you even think about equipment, let's cover the basics. A seed only needs a few things to awaken from its slumber.
Start with Quality Seeds: Your success rate starts with your source. Fresh, high-quality seeds will always have a better chance of sprouting. Always check the "sow by" date on the packet.
Read the Packet: Every seed is different. Some need to be soaked overnight, some need light to germinate, and others need a period of cold (stratification). Your seed packet is your instruction manual—read it carefully!
Maintain Consistent Moisture: This is the most crucial step. Your soil should be consistently moist, like a wrung-out sponge, but never waterlogged. Too little water and the seed won't sprout; too much and it will rot.
Provide Gentle Warmth: Most seeds germinate best in warm soil, typically between 20-25°C. A consistently warm environment signals to the seed that it's safe to start growing.
Give Them Light After Sprouting: As soon as you see the first green shoots emerge, they need abundant, direct light. Without it, they will stretch towards the nearest light source, becoming weak and "leggy."
Gear Up for Success: Essential Equipment We Recommend
Having the right tools can turn a frustrating experience into a successful one. Here’s the equipment we swear by at The Green Corner to guarantee strong, healthy seedlings.
(You can add your product links to the bolded items below)
A Sterile Seed-Starting Mix: Don't use heavy garden soil! A specialised seed-starting mix is lightweight, fine-textured, and sterile. This helps tiny roots grow easily and prevents "damping off," a fungal disease that can kill seedlings.
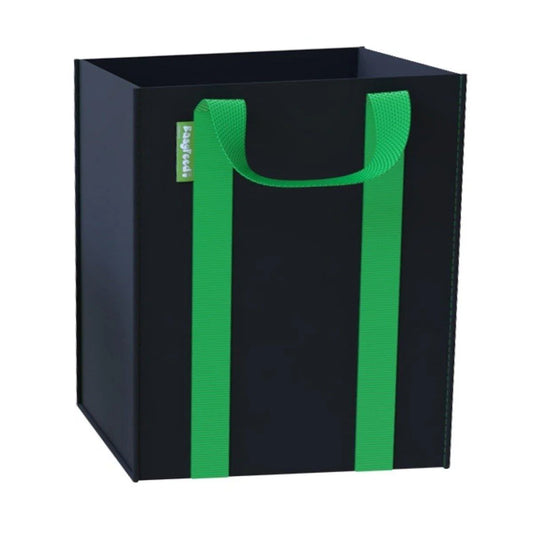
Seed Trays and Cells: While you can use old yogurt pots, proper seed trays with individual cells keep your seedlings organised and make transplanting much easier, preventing root shock. For an even simpler process, try our biodegradable pots, which can be planted directly into the garden.
A Humidity Dome: This is one of the best tools for germination. A clear plastic humidity dome fits snugly over your seed tray, creating a mini-greenhouse. It traps moisture and warmth, maintaining the perfect consistent environment your seeds need to sprout.
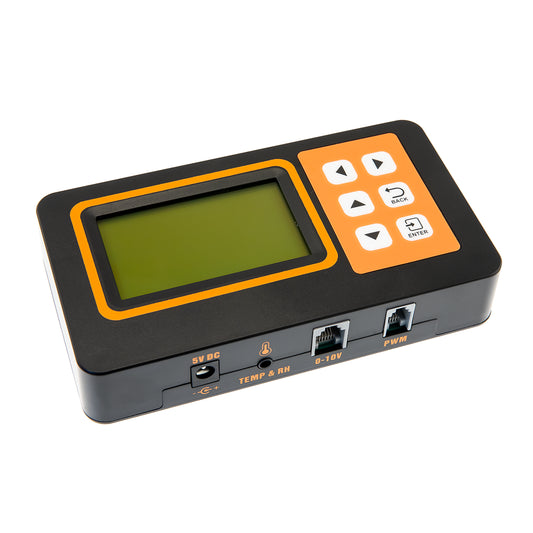
A Seedling Heat Mat: This is a game-changer, especially for our UK climate! A seedling heat mat is placed underneath your seed tray to gently warm the soil from below. This significantly speeds up germination, especially for heat-loving plants like tomatoes, peppers, and chillies.
A Set of Grow Lights: A sunny windowsill in late winter or early spring often doesn't provide enough intense light for seedlings. This is why they get leggy. Investing in a set of full-spectrum grow lights is the number one way to ensure your seedlings grow stocky, strong, and healthy until they're ready to move outdoors.
Plant Labels: It sounds simple, but you'll thank yourself later. Use plant labels and a waterproof marker to keep track of what you planted and when.
Starting from seed connects you to the entire life cycle of your plants. It's a process of patience and care that pays off tenfold when you're harvesting your own food or admiring a flower bed you grew from scratch. With these tips and the right gear, you're all set for your most successful growing season yet.
Happy Gardening!